#1 NAU Capstone
Instead of me explaining everything here, I’m just going to attach a link to the website:
https://theheartratemonitors.w3spaces.com/
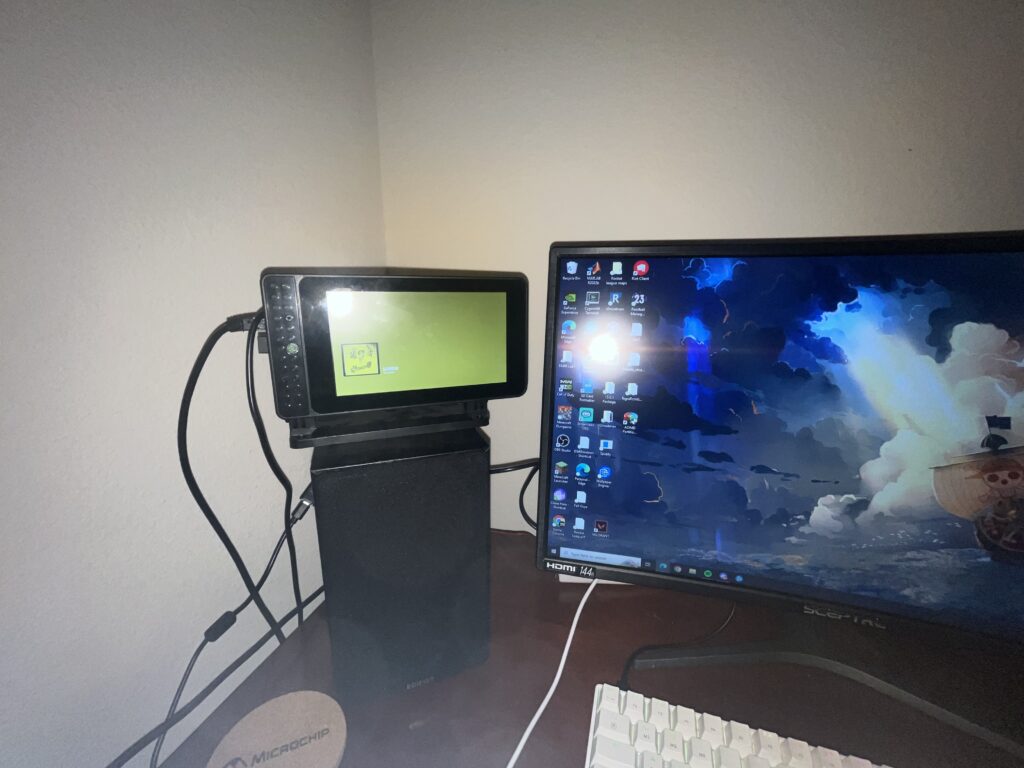
#2 Personal Music Player
This was the perfect project for me to pick up because I’ve always been a fan of music. Currently I am trying to grab a new UI called Volumio because it’s more modern-looking than PiCorePlayer so we will see. Right now, I have a nice spot for it on my speakers, so I’ll think of something later. The Raspberry Pi is easily the coolest tech I’ve ever worked with and wished there wasn’t a chip shortage so I can buy more.
- Created by using Raspberry Pi, PiCorePlayer software and Raspberry Pi touch screen
- Designed to retrieve personal files and playlists by communicating with PiCorePlayer server
- Included ability to link Spotify account as well as speakers and DAC amplifiers
#3 TV Wakeup Device
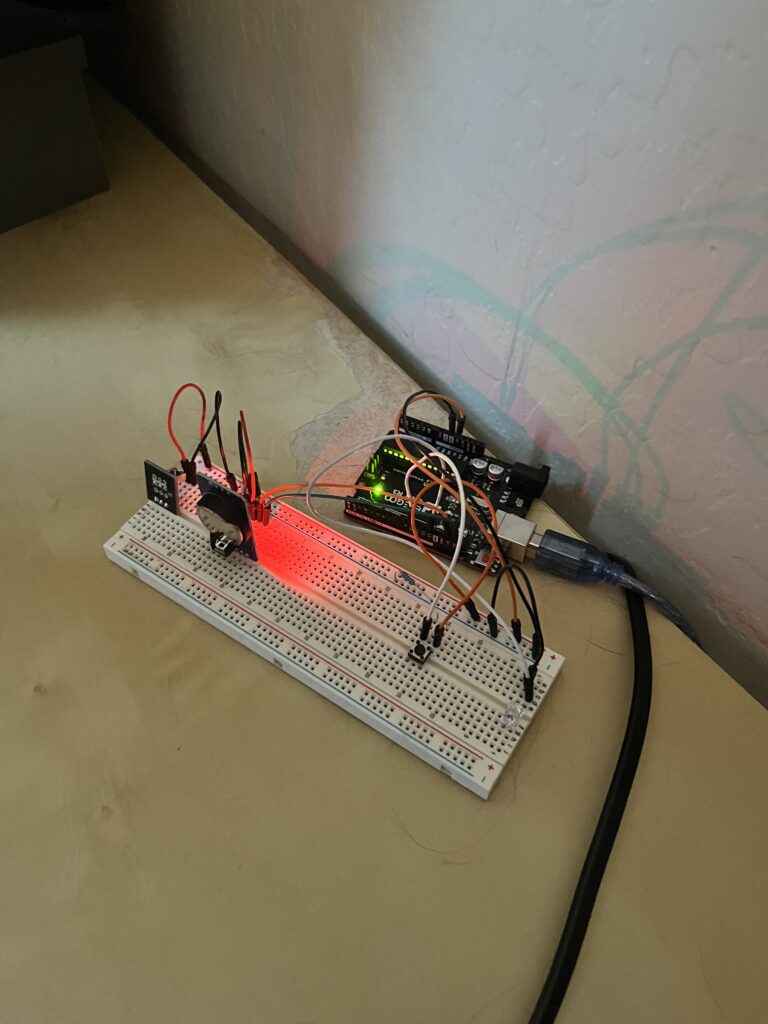
My first serious Arduino project and I could not have been more excited to complete it. I always felt like waking up to your favorite TV show or waking up to the news would be a great way to start your day, so I decided to make a device that would do just that. Here’s a quick rundown of everything I used in this project.
- Arduino Uno Elegoo R3
- Onn TV with Roku
- Jumper Wires
- Button/Switch
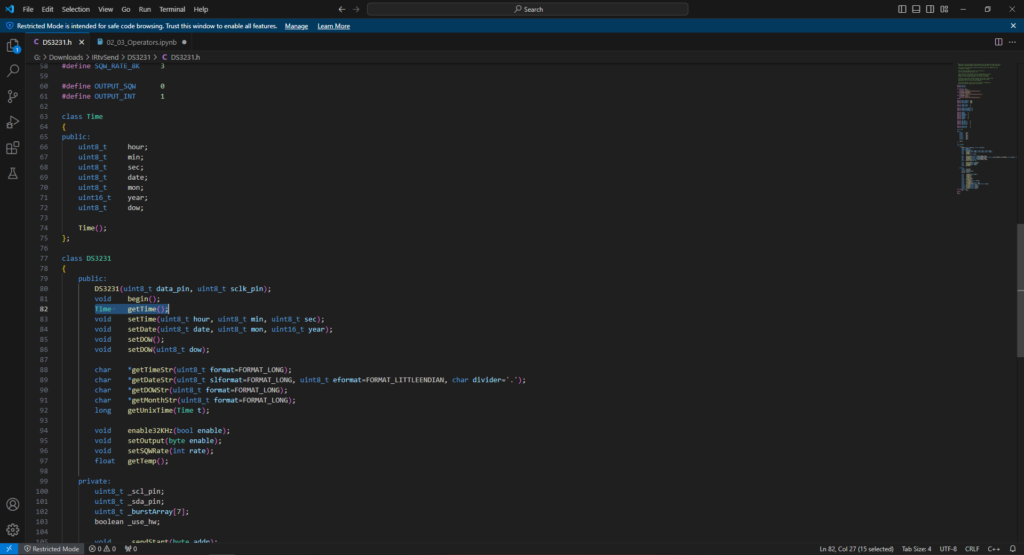
- DS3231 RTC (Real-Time Clock)
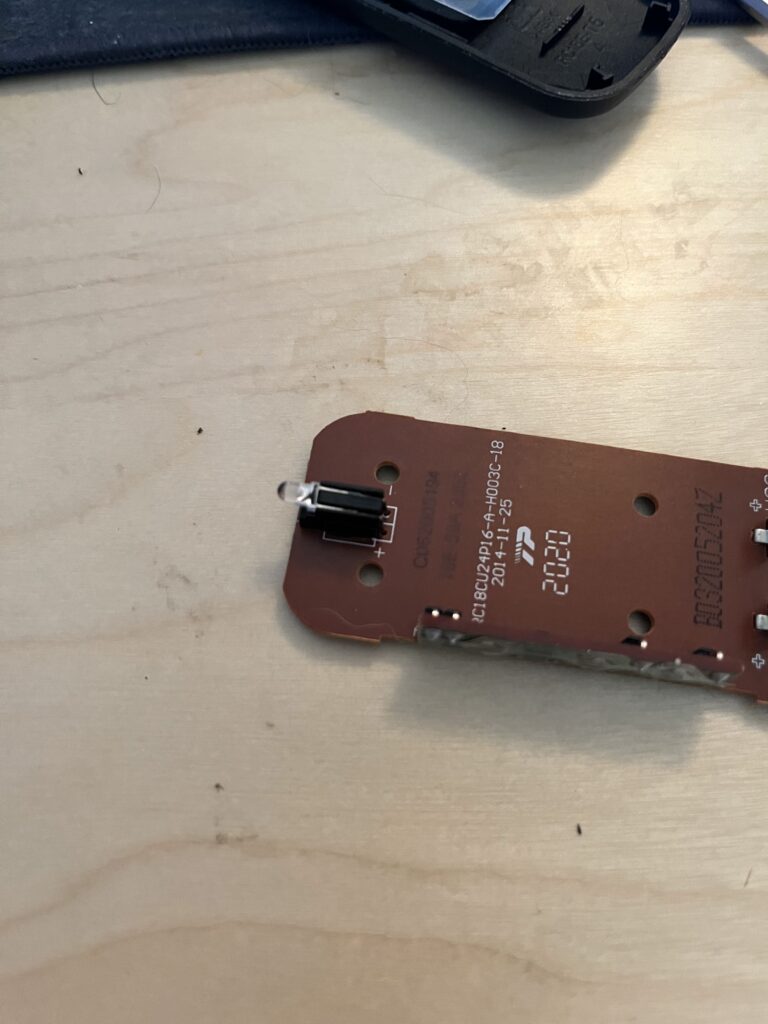
- IR LED
- IR Receiver module
My first objective was to gather all my materials, which included ordering some parts like the RTC, but thankfully I had everything else already in my possession. For the IR LED, I researched and found that in every remote control, there will be an IR LED inside that communicates with the IR Receiver module in the TV, luckily, I had an old remote I could take apart and extract and LED from. After studying how the remote control actually interacts with a TV, I decided the perfect idea would be to recreate that relationship into my project.
In order to figure out how to turn on my Roku TV, I needed to know what the remote control was specifically saying to the TV’s IR receiver. In order to do that, I found some Arduino code that would utilize the Arduino IR Receiver module to receive the IR signals sent from the Roku remote control. The only IR “information” I wanted was the Power Button, so once my Receiver was ready to record the information, all I had to do was press the power button and the rest would show in my Serial Monitor.
Next, I needed to find a way to send the signal to the TV in a way that syncs up with a specific time chosen by myself. To do this I needed to study my RTC module’s code to see exactly how it all works. After lots of confusion and further research, I found a way to make everything work perfectly. What made solving this problem a lot easier was implementing a Button/Switch, that way I wouldn’t have to wait for a specific time to see if my device turned on the TV. This process was way more tedious than I expected though because IR LEDs send a lot of information for a simple command such as “Power On/Off” and it wasn’t as simple as copying and pasting.
Finally, it was time to sync the time with the IR LED message. The plan was to have the IR LED send the “”Power On/Off” signal at a time of my choosing. Finding out how to even make the electronics communicate that was easier said than done, but at the end of all that my device was complete. The next day I woke up to the morning news in Spanish already playing in the background, the project was now successfully completed. This was such a fun project and I’m grateful to have learned so much from the time spent completing it. Onto the next one!